To-dos app
In this tutorial, you will learn about Stacks authentication and storage by installing, running, and reviewing the code for a "To-dos" app built with Stacks authentication and storage.
This app highlights the following platform capabilities:
- Generate Secret Key with associated BNS username to authenticate app
- Add, edit and delete encrypted app data with Gaia
- Decrypt data on Gaia for public sharing by URL
- De-authenticate and re-authenticate app with Secret Key
Try the app or view its code on GitHub.
Existing familiarity with React is recommended for reviewing this app's code.
The example apps depend on a stable version of NodeJS. Install the LTS version of NodeJS using nvm with the following command: nvm install --lts
Step 1: Install the code and its dependencies
git clone https://github.com/hirosystems/todos && cd todos
npm install
Step 2: Run the app:
npm run start
You should see output similar to the following:
Compiled successfully

You can now view to-dos in the browser.

    http://localhost:3000/

Note that the development build is not optimized.
To create a production build, use yarn build.
Step 3: Review local build
You should see the app's landing page:
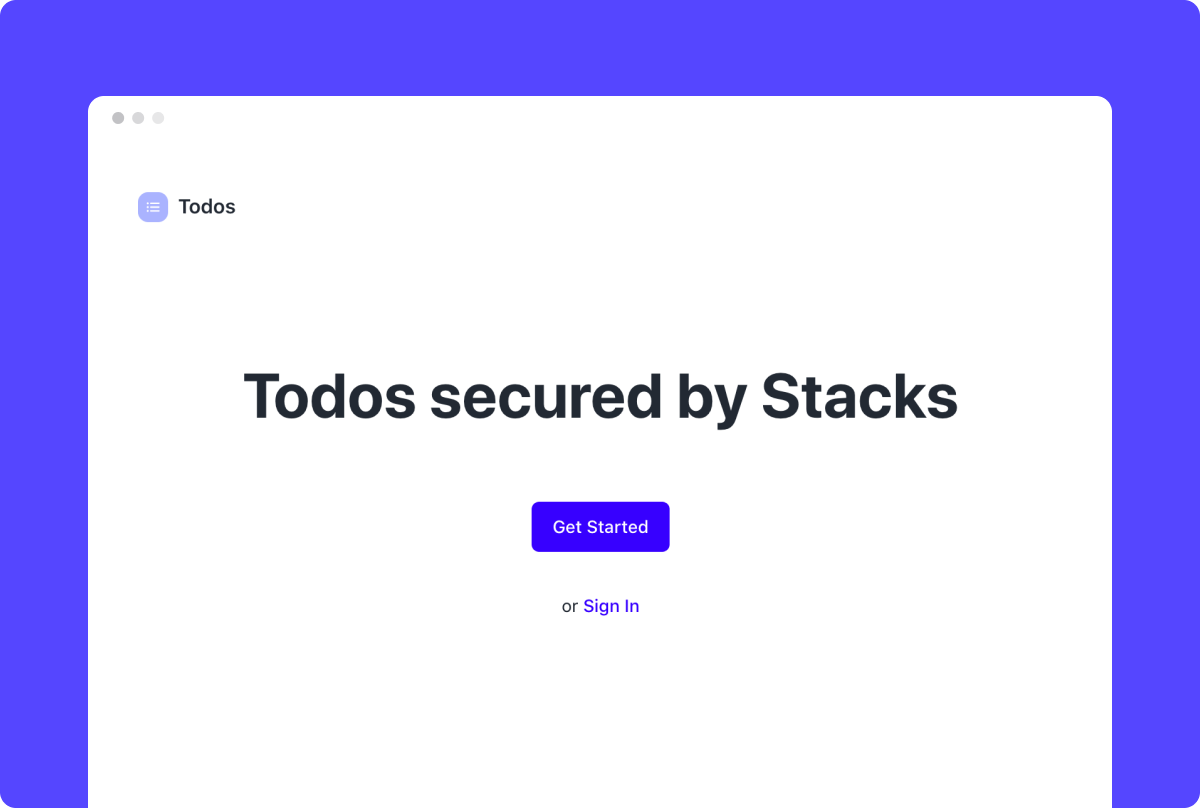
Onboard into your first Stacks app
Step 1: Choose Get started to start onboarding into the app.
The app displays a standardized introductory modal using the @stacks/connect library.
This modal is displayed using the authenticate function exported by the src/auth.js module, which organizes all Stacks resources needed for authentication in the app:
// src/auth.js
import { AppConfig, UserSession, showConnect } from '@stacks/connect';
import { Person } from '@stacks/profile';
const appConfig = new AppConfig(['store_write', 'publish_data']);
export const userSession = new UserSession({ appConfig });
export function authenticate() {
showConnect({
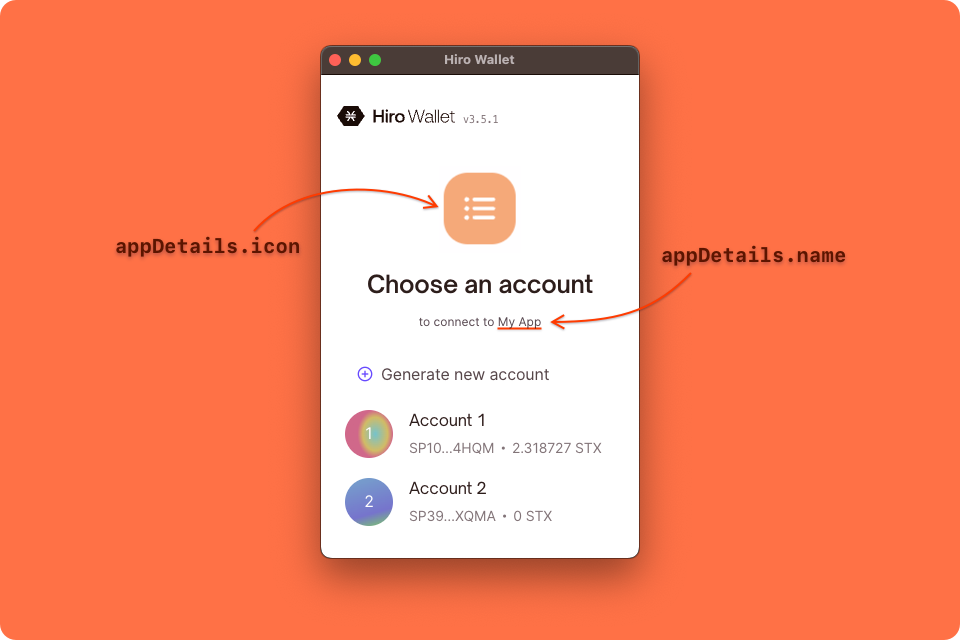
appDetails: {
name: 'Todos',
icon: window.location.origin + '/logo.svg',
},
redirectTo: '/',
finished: () => {
window.location.reload();
},
userSession: userSession,
});
}
export function getUserData() {
return userSession.loadUserData();
}
export function getPerson() {
return new Person(getUserData().profile);
}
The authenticate function implements the showConnect function imported from the connect package of Stacks.js.
showConnect triggers the display of a modal that initiates the authentication process for users, one in which they'll authenticate with a Secret Key that's used to encrypt their private data.
The showConnect function accepts a number of properties within a parameter object such as:
- The app's
nameandicon: provided as strings comprising theappDetailsobject property. - The
redirectTostring: used to provide a URL to which the user should be redirected upon successful authentication. TheonFinishcallback serves a similar purpose by handling successful authentication within a context of a popup window. - The
userSessionobject: used to pass the scopes needed by the app.
Note how the userSession object is created at the beginning of this module by leveraging an AppConfig object that's first initiated with all relevant scopes.
The UserSession and AppConfig classes are themselves imported from the @stacks/auth library.
In the separate src/components/App.jsx component, you can see how
componentDidMount loads the user's data into the app's state, whether upon redirect post-authentication with userSession.handlePendingSignIn() or upon detection of an existing session with userSession.isUserSignedIn():
// src/components/App.jsx

import { userSession } from '../auth';

...

componentDidMount() {
  if (userSession.isSignInPending()) {
    userSession.handlePendingSignIn().then((userData) => {
      window.history.replaceState({}, document.title, "/")
      this.setState({ userData: userData})
    });
  } else if (userSession.isUserSignedIn()) {
    this.setState({ userData: userSession.loadUserData() });
  }
}
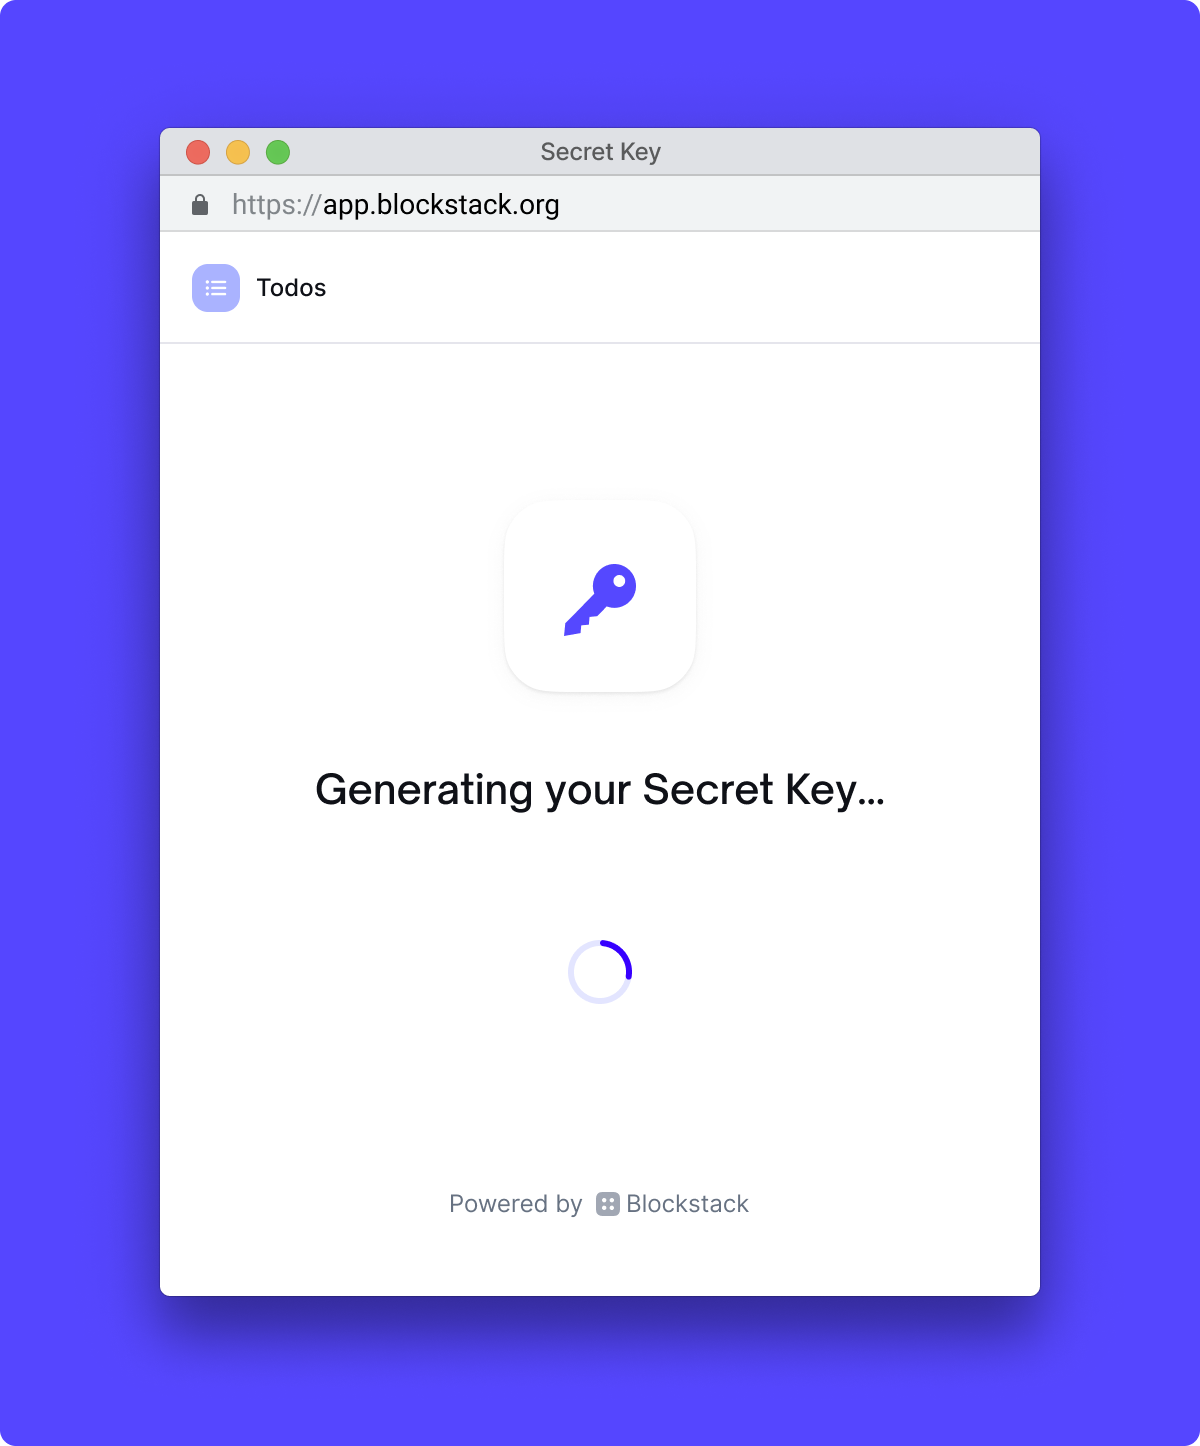
Step 2: Choose Get started to generate a Secret Key.
The app triggers a popup window in which Stacks Web Wallet
loads from app.blockstack.org and begins generating a new Secret Key.
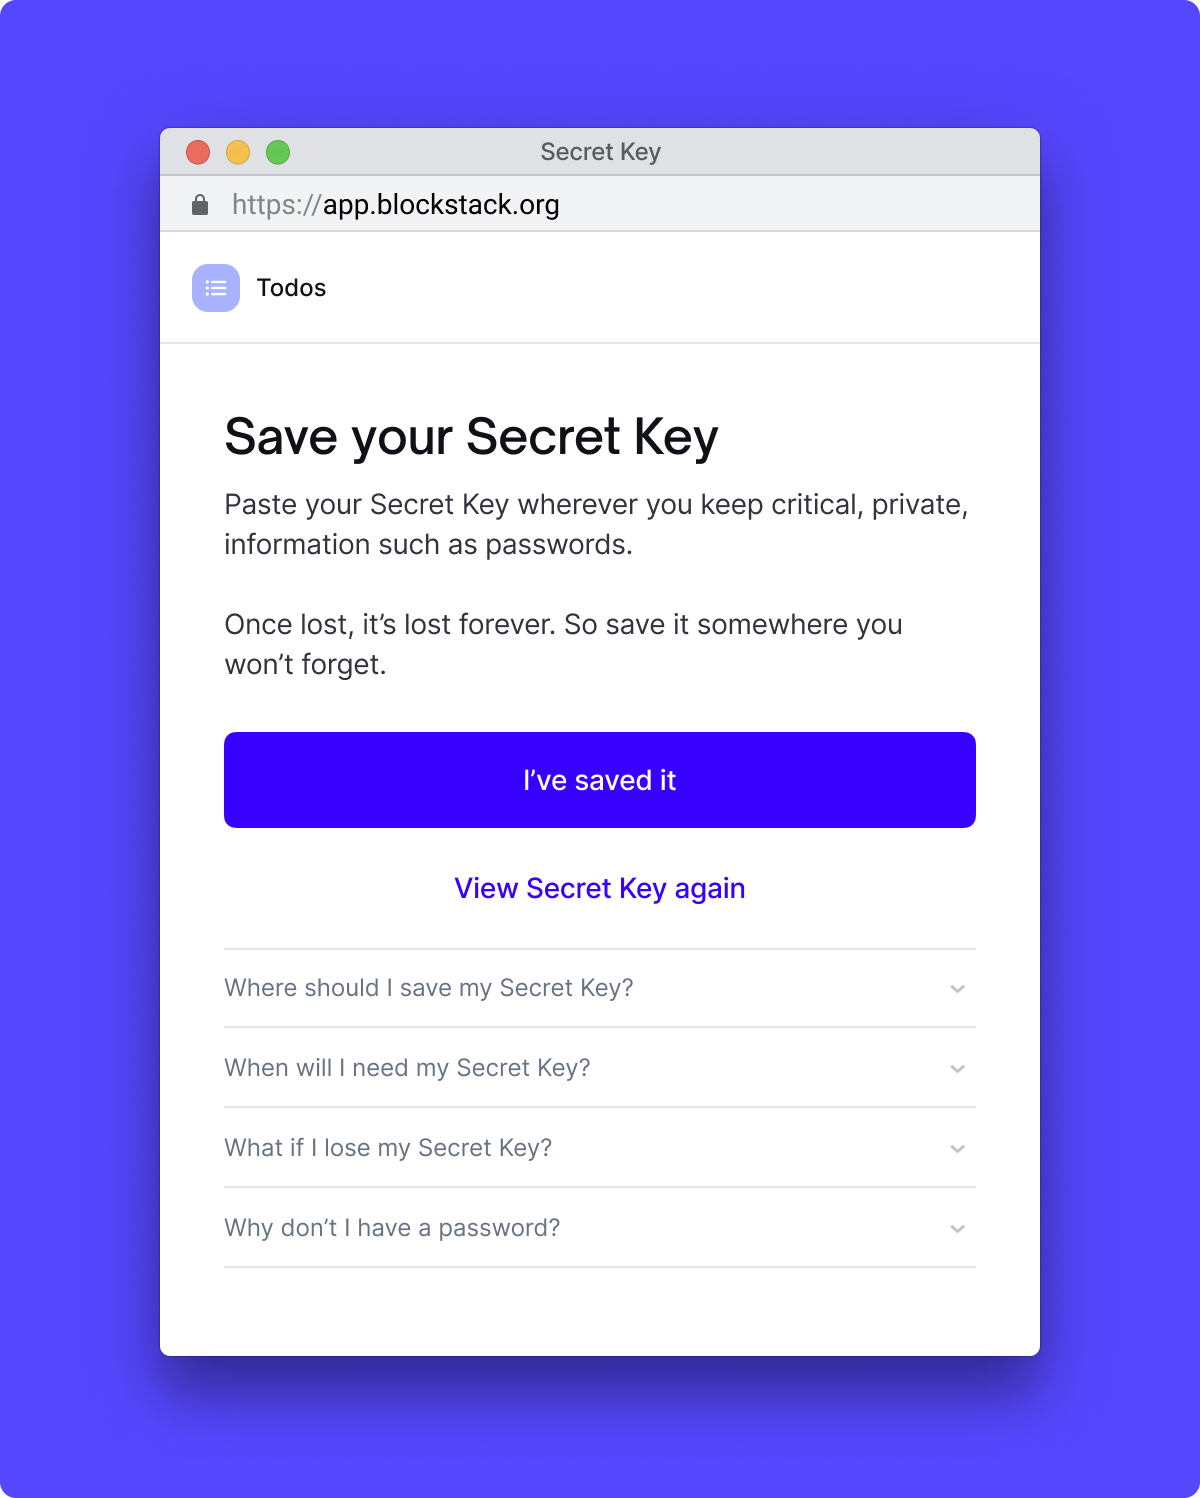
Step 3: Choose Copy Secret Key to copy your Secret Key to the clipboard.
The Secret Key is a unique 12-word mnemonic phrase that empowers the user not only to access Stacks apps securely and independently. It's also used to encrypt all of the private data they create and manage with Stacks apps.
Secret Keys are like strong passwords. However, they can never be recovered if lost or reset if stolen. As such, it's paramount that users handle them with great care.

Step 4: Choose I've saved it to confirm you've secured your Secret Key in a suitable place.
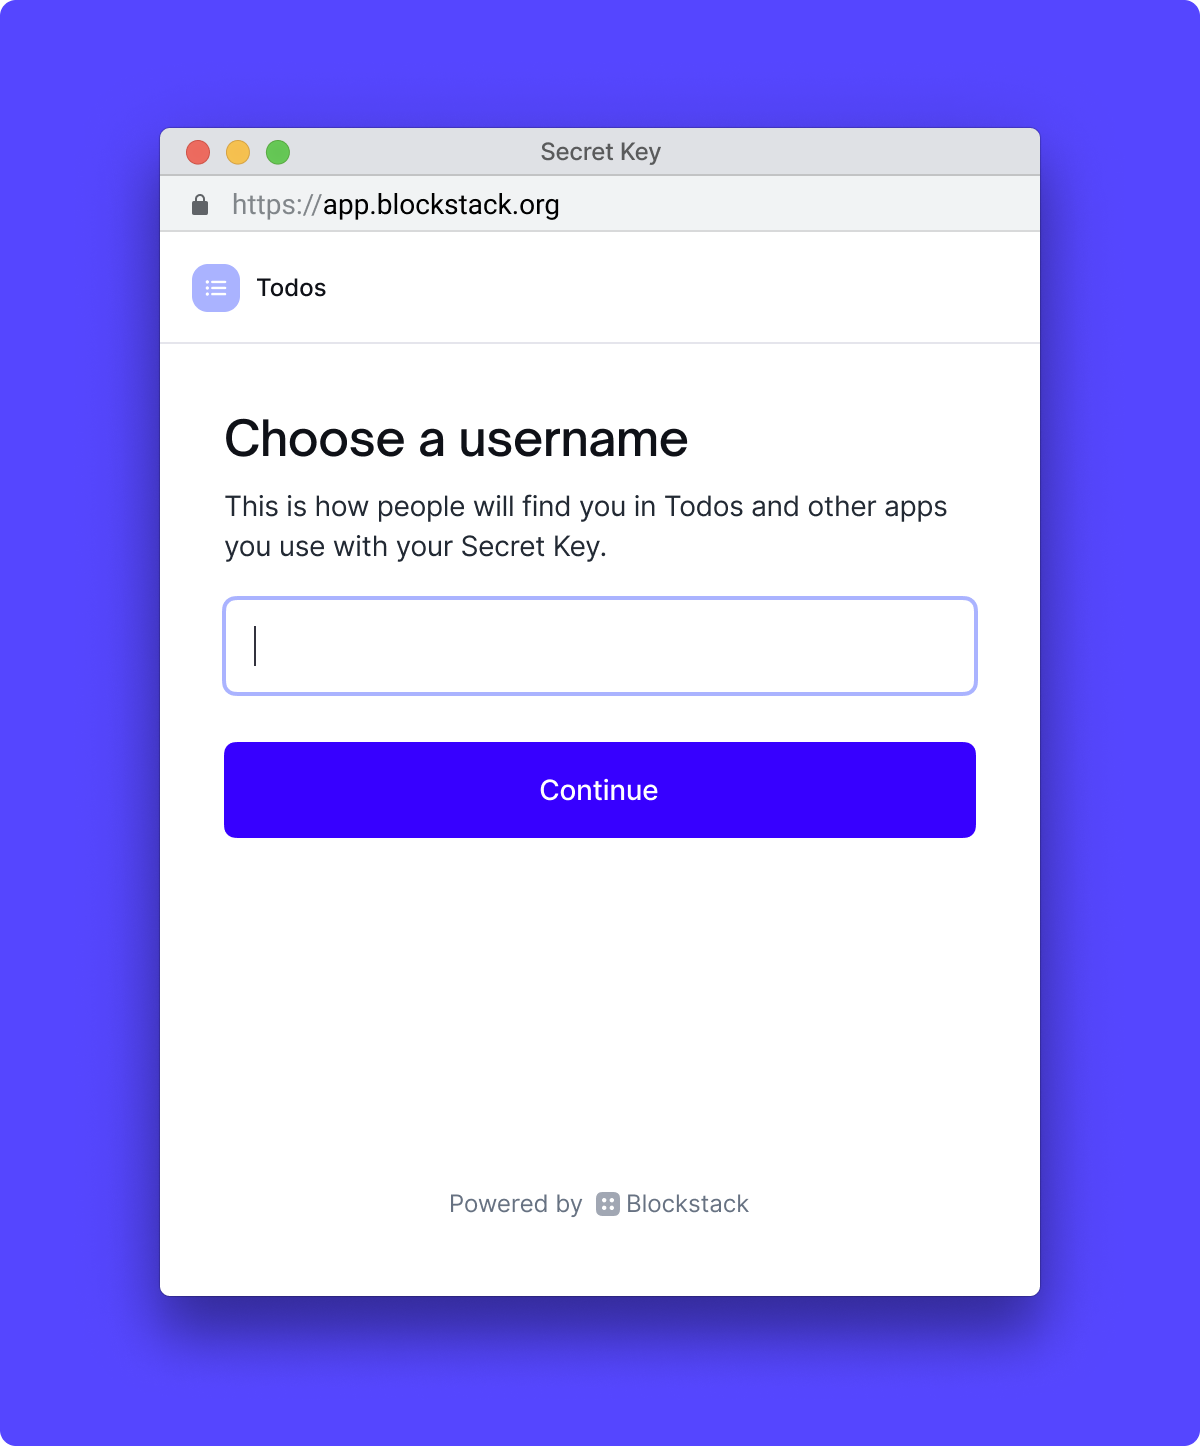
Step 5: Enter a username value and choose Continue
The username will be used by the app to generate a URL for sharing your to-dos, should you choose to make them public.
It is registered on the Stacks blockchain with BNS and associated with your Secret Key.
Done: You've now completed onboarding into the app
Add, edit and delete to-dos privately
Once you've authenticated the app, you can start adding to-dos by entering values into the "Write your to do" field and hitting "Enter."
The data for all to-dos are saved as JSON to the Gaia hub linked to your Secret Key using the putFile method of the storage object in the src/storage.js module, which manages all data storage for the app:
// src/storage.js

import { userSession } from './auth';
import { Storage } from '@stacks/storage';

const storage = new Storage({ userSession });

...

export const saveTasks = async (userSession, tasks, isPublic) => {
  await storage.putFile(TASKS_FILENAME, JSON.stringify({ tasks, isPublic }), {
    encrypt: !isPublic,
  });
};
These to-dos are subsequently loaded using the getFile
method of the same object in the same module:
// src/storage.js

import { userSession } from './auth';
import { Storage } from '@stacks/storage';

const storage = new Storage({ userSession });

...

export const fetchTasks = async (userSession, username) => {
  const tasksJSON = await storage.getFile(TASKS_FILENAME, {
    decrypt: false,
    username: username || undefined,
  });
  ...
};
The storage object is instantiated with the Storage class of the @stacks/storage library and userSession to ensure that all storage calls are made with the user's Gaia hub.
By default, the putFile and getFile methods automatically encrypt data when saved and decrypt it when retrieved,
using the user's Secret Key. This ensures that only the user has the ability to view this data.
When deleting a todo, the same putFile method is used to save a new JSON array of to-dos that excludes the deleted todo.
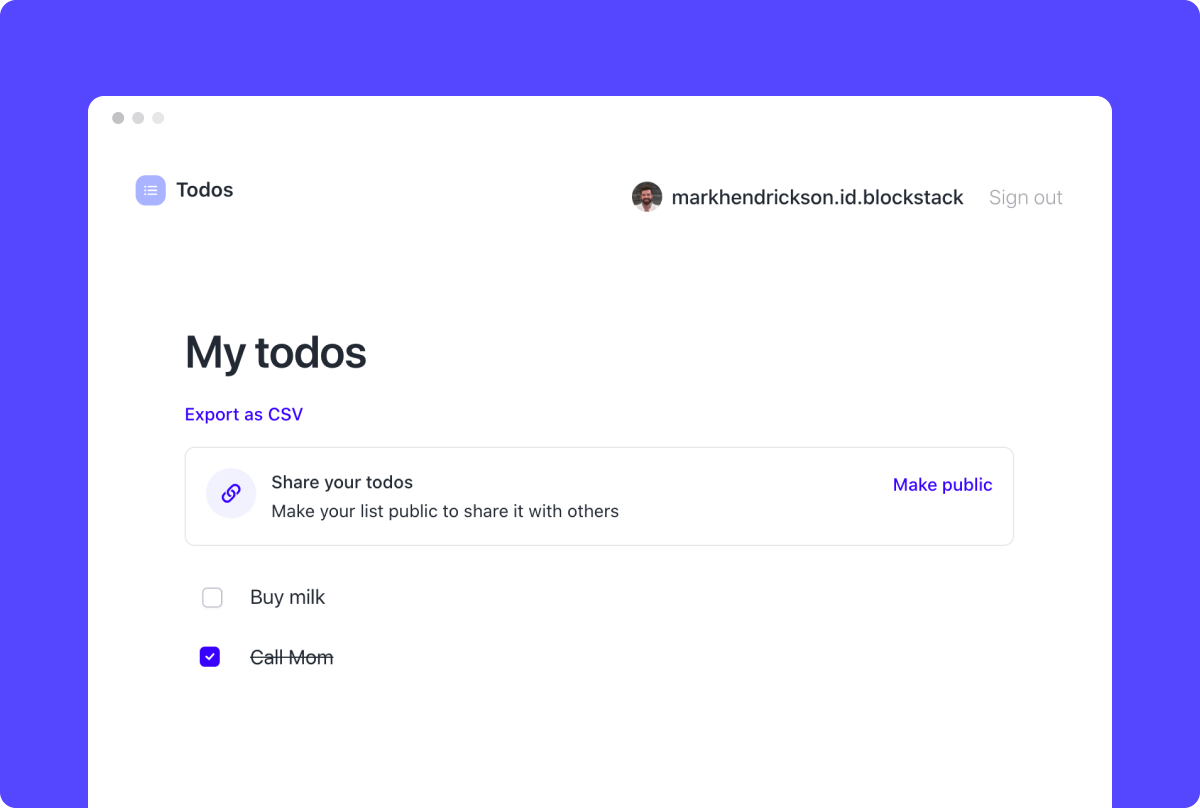
Publish your to-dos publicly
Select "Make public" to make your to-dos accessible to the public for sharing via URL.

This will call saveTasks with the isPublic parameter set to true, which is used to disable encryption when using putFile.
The app will now show all of your to-dos to anyone who visits the URL displayed with your Stacks username as a suffix.
Sign out and see your public tasks
Select "Sign out" to deauthenticate the app with your Stacks account.
This calls the signUserOut method
of the userSession object within src/components/Header.jsx.
Now visit the URL that was provided to you when you made your tasks public. This URL has the format /todos/:username, so if your username were janedoe.id.blockstack, the URL would be localhost:3000/todos/janedoe.id.blockstack.
When you visit this page, the TodoList.jsx component detects that there is a username in the URL.
When there is a username, it calls fetchTasks, this time providing the username argument. This username
option is then passed to getFile, which will look up where that user's tasks are stored.
Sign back in
At this point, you will be logged out from the app but not you'll still have an active session with the Stacks app itself on app.blockstack.org. Navigate to app.blockstack.org and select "Sign out" there if you want to deauthenticate the Stacks app as well.
Once signed out, select "Sign In" to sign back in with your Secret Key.
If you've previously deauthenticated the Stacks app, you'll see a prompt to enter your Secret Key:
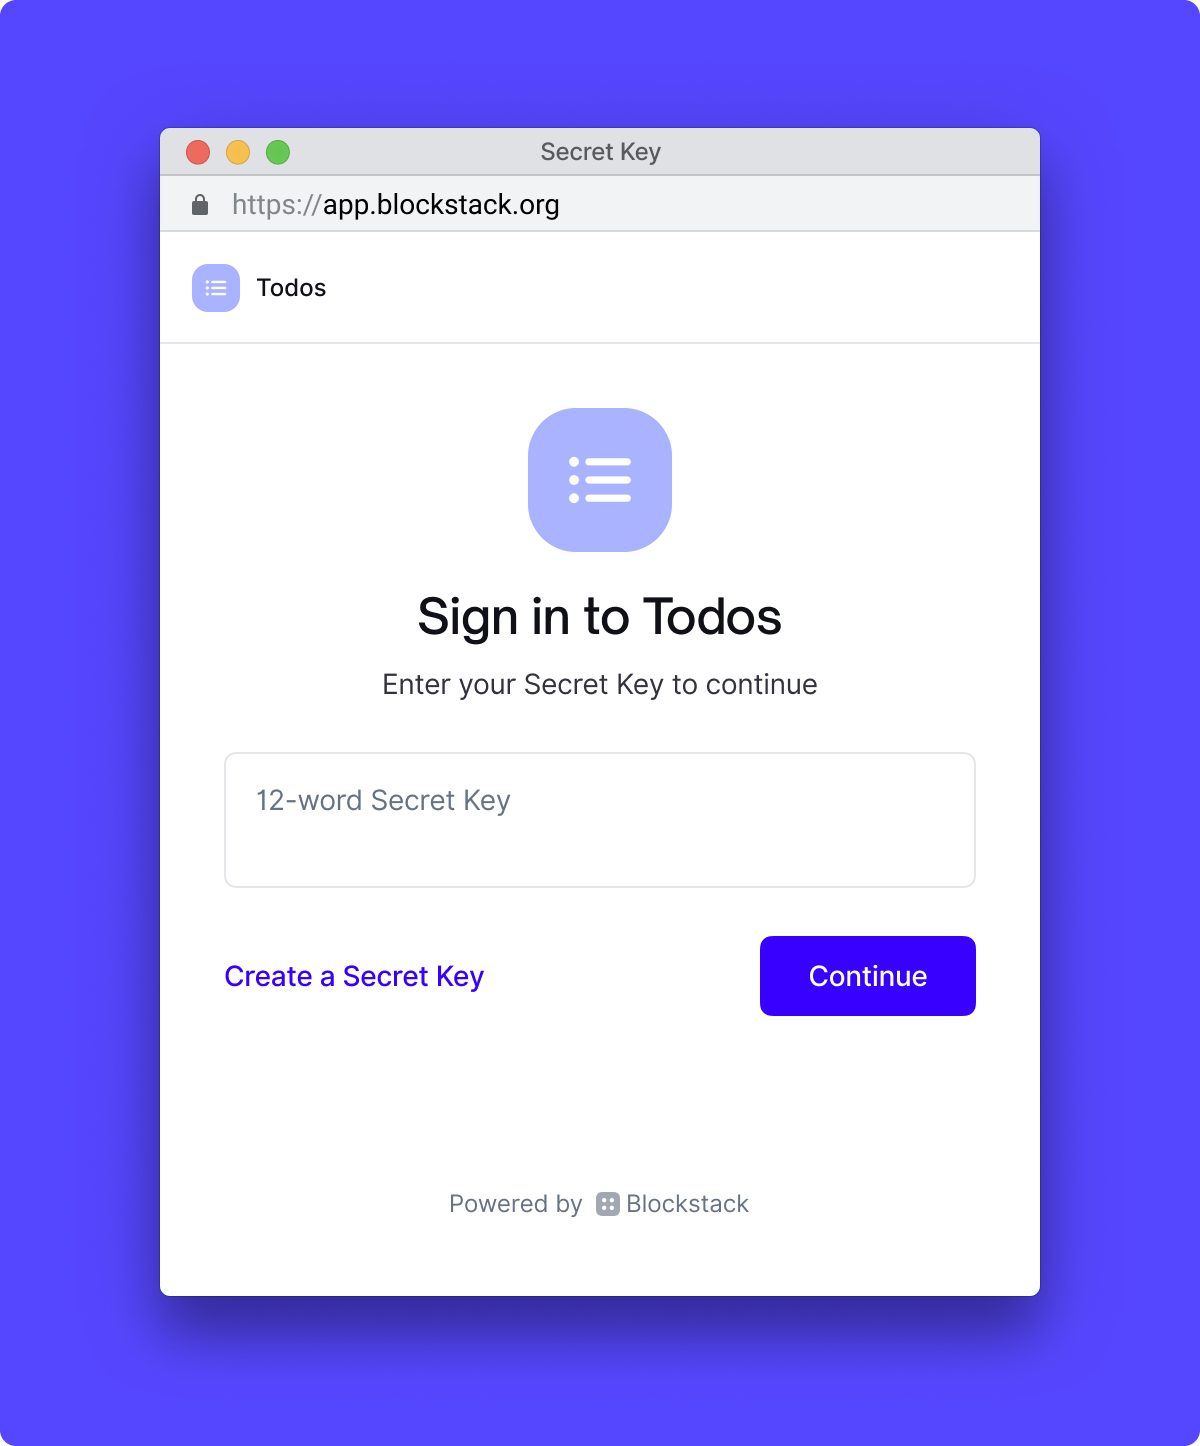
The preceding screen is omitted if you have an active session with the Stacks app already.
Then you'll be presented with the option to select an existing username associated with your Secret Key or create a new one if you wish to authenticate the app with a different identity and data set:
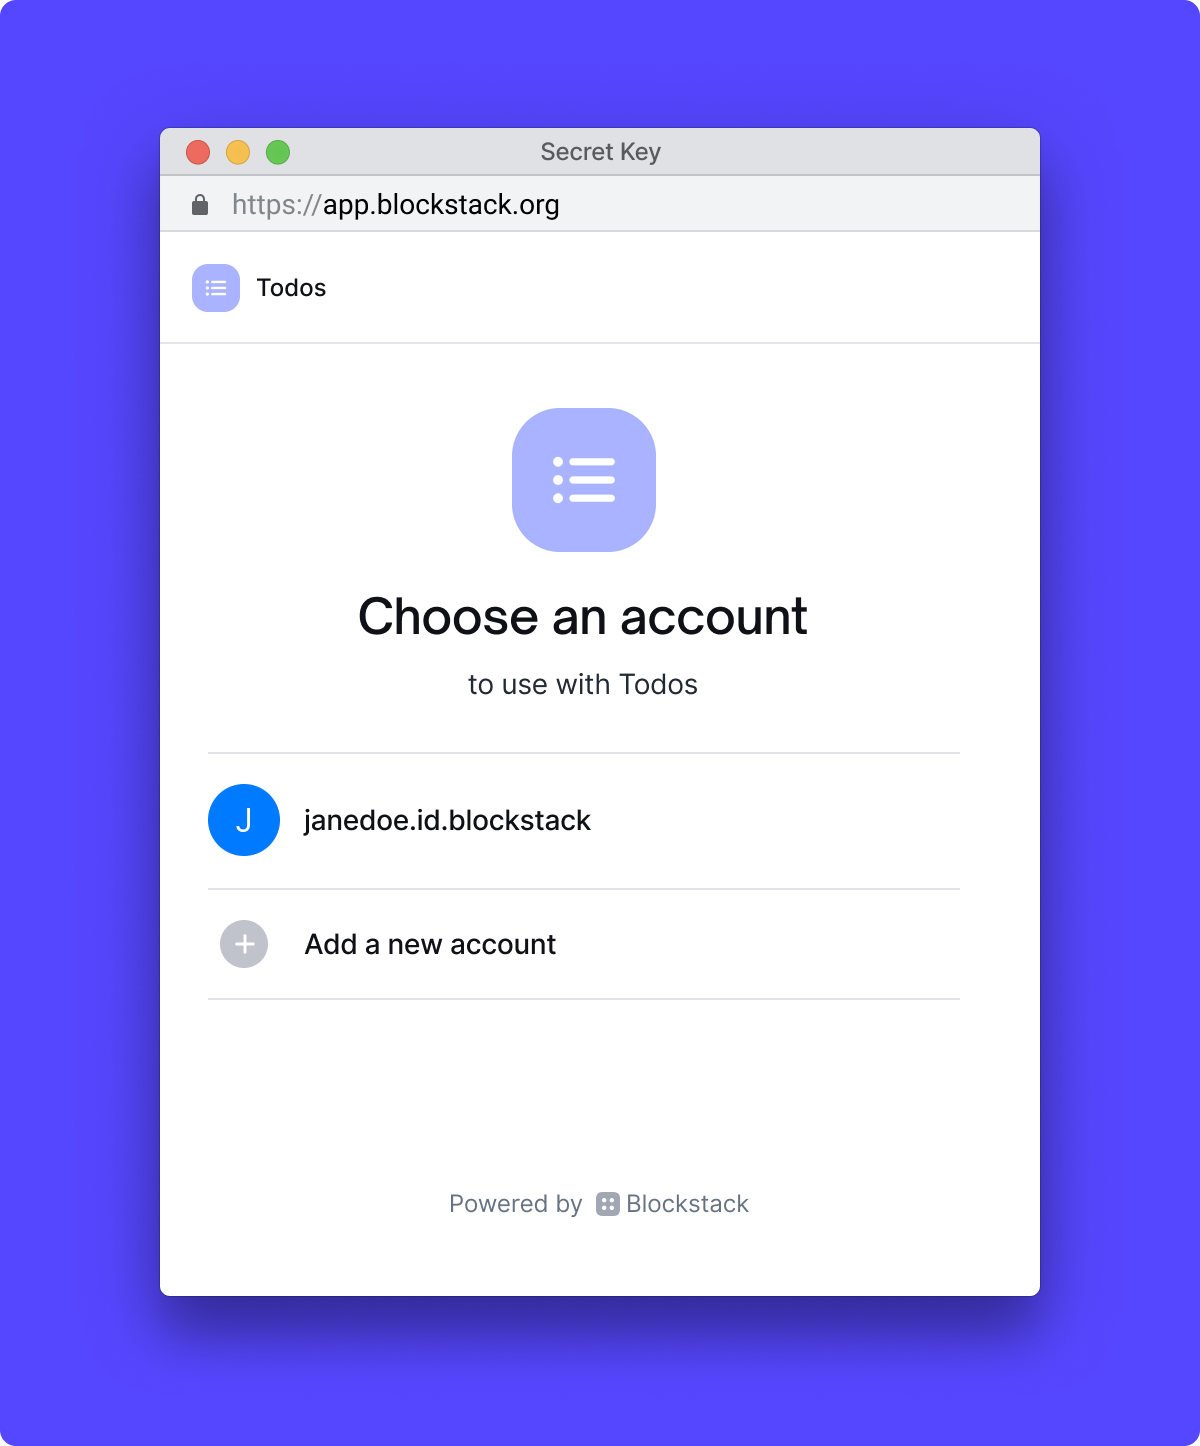
You'll now see your to-dos as an authenticated user for the username you've chosen.
Learn more
Read the Stacks.js reference to learn more about the libraries used in this tutorial.